Web Platform
- Navigate to the Deals tab from the left-hand menu, or access Deals directly from a specific account profile.
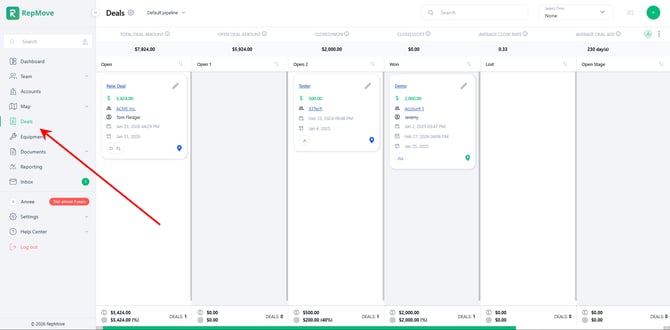
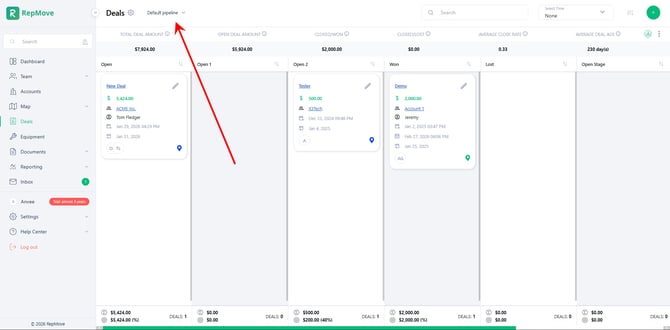
- Select the desired Deal Pipeline using the dropdown menu in the top-left corner.
- Click the
 (Plus) button in the top-right corner to create a new deal.
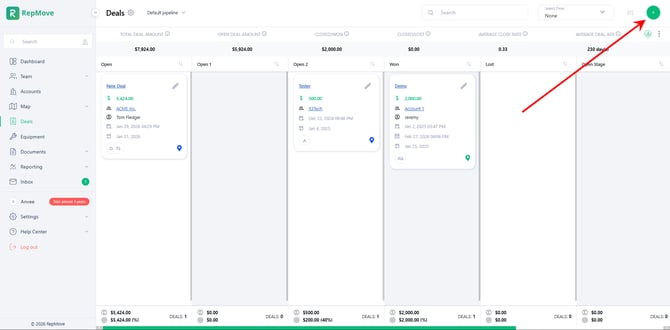
- Enter the deal details:

- Title – Enter a name for the deal.
- Pipeline – Select the appropriate pipeline.
- Stage – This will automatically default to the first stage of the selected pipeline (you may adjust it if needed).
- Account Name – Select the account. You can associate multiple accounts with a single deal.
- Assigned To – Assign the deal to one or multiple sales reps under the selected account.
- Amount ($) – Enter the dollar value of the deal.
- Projected Closing Date – Select the expected closing date.
- Details – Use this section to add any additional notes or important information.
- Click Save to create the deal.
Mobile App
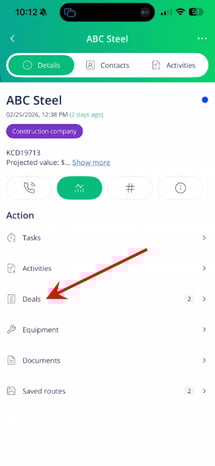
- Select the Account where you want to add a deal.

- Tap the Actions button.
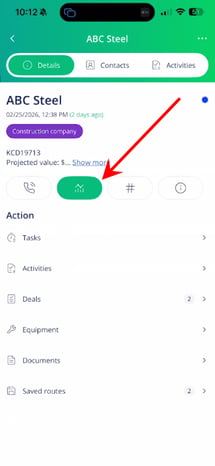
- Select Deals.
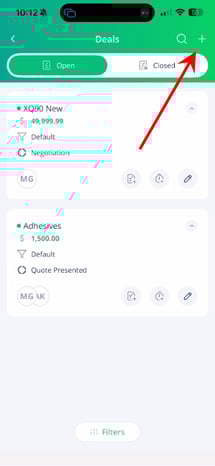
- Tap the (Plus) icon in the top-right corner.
- Enter the required deal information:

- Title – Enter a name for the deal.
- Pipeline – Select the appropriate pipeline.
- Stage – This will automatically default to the first stage of the selected pipeline (you may adjust it if needed).
- Account Name – Confirm or select the account (multiple accounts can be added if applicable).
- Assigned To – Assign the deal to one or more reps under the selected account.
- Amount ($) – Enter the deal value.
- Projected Closing Date – Select the expected closing date.
- Notes – Add any additional details or important information.
- Tap Save to create the deal.