Web-based Dashboard
Edit/Manage Tags from the Settings page.
- Go to your RepMove Web-based Dashboard and click on the 'Settings' tab.

- Go to 'Tags.'

- To add a Tag, click the green '+' icon in the top right.

- Give your Tag a title and hit 'Save.'

- To edit or delete a Tag, go to 'Settings,' then 'Tags', then click on the three dots (ellipsis) icon.

Edit/Manage a Tag at the 'Account' page.
- Go to your RepMove Web-based Dashboard and click on the 'Account' tab.
- Click on the appropriate 'Account' name from the list, and then click the green 'Edit' button at the bottom of the 'Details' page.

- Once on the 'Edit account' page, click the 'Tags' field and select an existing tag from the drop down, or create a new 'Tag' by typing in (or creating) a new title for your Tag and hitting enter. To finish this step, click the green 'Save' button.

Mobile
- Open your RepMove app and click on the name of an account you'd like to add a 'Tag' to (see the 3 options in the graphic below).
Accounts can be found by either (1) scrolling (side to side) through the account cards below the map, or (2) clicking on the 'List' tag, or by (3) searching for an account by clicking on the magnifying glass (search) icon.
- Click on the three dots (ellipsis) in the top right corner.

- Click on the 'Edit' tab, and the 'Main Info' page will appear.

- Click the 'Tags' field.

- Click the 'Create or find a tag' field and select an existing tag from the drop-down, or create a new 'Tag' by typing in (or creating) a new title for your Tag and clicking the blue '+' to add it to the list. Then click the check mark icon in the top right to save it.

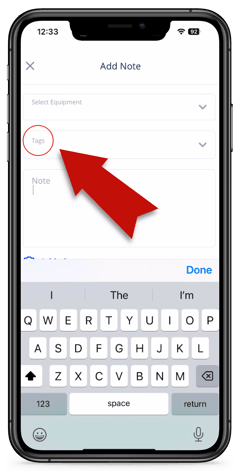
Another option to create/manage 'Tags' is when you are creating a 'Note.' Follow the same steps as #4 and #5 (see above).